Installing a Webserver
If you want to test scripts, but don't have room for it on the net, you can install a web server on your own computer. First it's free and second it's not accessible from outside. This tutorial will be made in parts, since it's a kinda big one and you have to install a couple of programs.
This tutorial has been written with use of Windows XP Home Edition SP2.
For this complete tutorial you'll need:
- Apache 2.0.58 or later
- PHP 4.4.2 or later
- MySQL 4.1.20 or later
- phpMyAdmin (optional)
¤ Step 1: Installing Apache
Apache is the most used server application available free for download. First download Apache 2.0 from here. Choose apache_2.0.xx-win32-x86-no_ssl.msi (where xx is the version number). After downloading it, open it and setup will start and the following screen will appear:
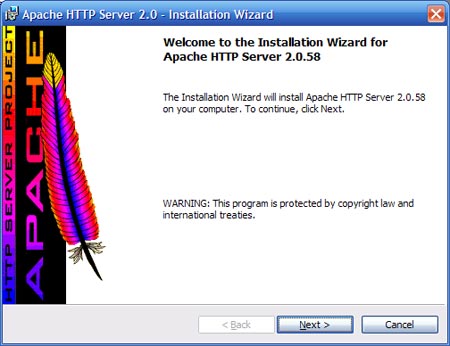
This is the standard welcoming screen, just press "Next".
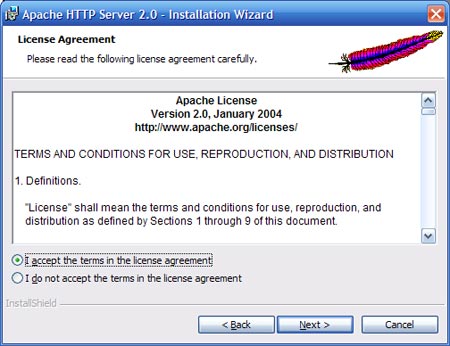
Here the license agreement is displayed, read it if you're bored.
Press "Next" when you're done.
Here will be explained what Apache is, read it well. Press "Next" when you're done.
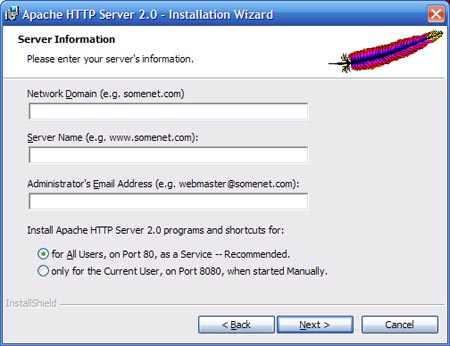
Here enter your server info, just be creative.
Just keep the first option selected and click on "Next".
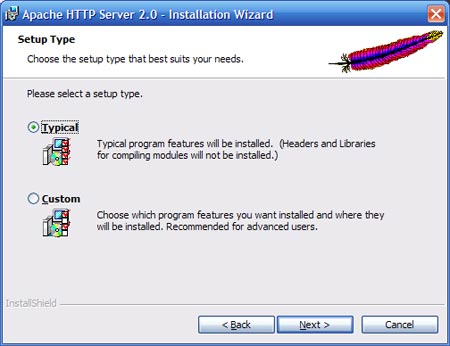
I recommend using Typical as setup type, if you are a beginner with this.
Click "Next" when done.
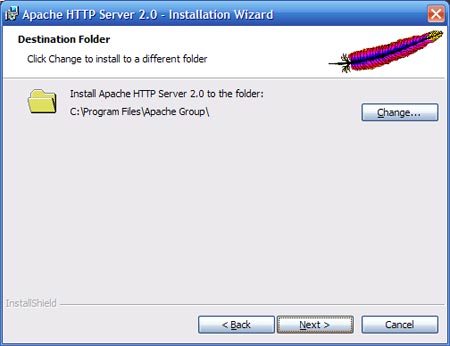
Here you can change the directory you want to install Apache in. Click "Next".
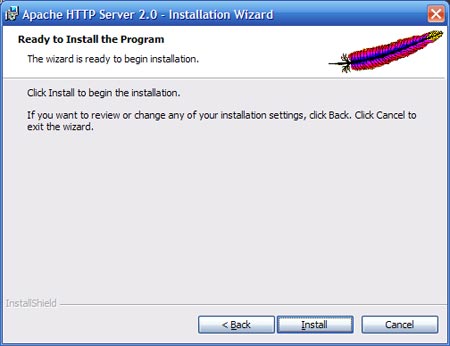
You're done with the wizard.
By clicking "Install" the program will be installed. (duh)
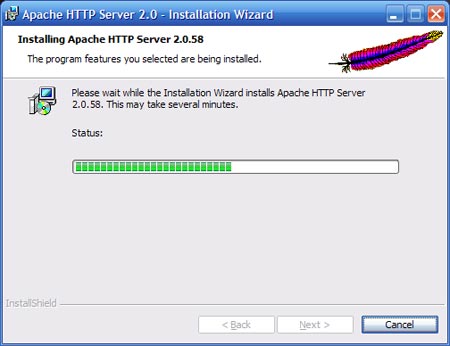
The program is installing, please wait. Some DOS windows will appear, just ignore them, since they are part of the install. If you firewall starts complaining, allow the program to act like a server.
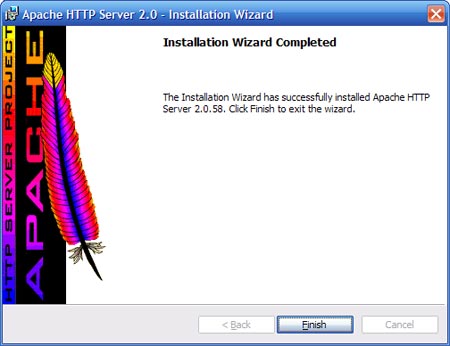
Congratulations, the installation has been complete.
Click "Finish" to exit the installer.
To test if the web server works, open your browser and go to http://localhost or http://127.0.0.1. This is the IP address of your computer. If everything works the following page should appear with this text:
It Worked! The Apache Web Server is Installed on this Web Site!
Please note, the text will likely appear in your own language.
If you want to change the directory you want your documents to be read from, go to Start » Programs » Apache HTTP Server 2.x.xx » Configure » Edit the Apache httpd.conf Configuration File.
Search for:
DocumentRoot "C:/Program Files/Apache Group/Apache2/htdocs"
Replace it with (change the location to something else if you want):
DocumentRoot "C:/webserver/www"
Now that your webserver works you can add your website to it. But only in HTML language. If you want PHP and MySQL installed too, continue to step 2.
¤ Step 2: Installing PHP
First go to www.php.net and download the latest version of PHP4. At the download section select the zip package. After you downloaded the file open it and extract it to C:\Webserver\php or any location you want. Then open the php directory and search for the file php.ini-dist. Rename that file to php.ini and place it into the Windows directory (mostly C:\WINDOWS).
Now that PHP is installed we need to configure Apache to let PHP work. Go to Start » Programs » Apache HTTP Server 2.x.xx » Configure » Edit the Apache httpd.conf Configuration File. The Apache config file will now open in Notepad.
Search for:
DirectoryIndex index.html index.html.var
Replace with:
DirectoryIndex index.html index.html.var index.php
Then look into the php/sapi directory and copy php4apache2.dll to the php directory. This way the module can be loaded by Apache.
Add this at the bottom of the file (change the location if necessary):
LoadModule php4_module "C:/Webserver/php/php4apache2.dll"
AddType application/x-httpd-php .php
After you made those changes save and close the file. Now you need to restart Apache to let PHP work. Look in your taskbar and you'll see an icon with a green play arrow. Click on it and this window will appear.
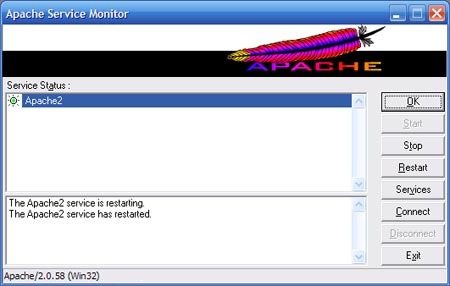
Click on "Restart" to restart Apache. The program will then run on the altered configuration file. Now we will test if PHP works on the server. Open Notepad and add the following code to a new file and save it as test.php into your www directory.
<? echo "Hello World!"; ?>
Now go to http://localhost/test.php. If PHP is right installed a white page with the text "Hello World!" should appear.
Next step will be installing MySQL.
¤ Step 3a: Installing MySQL
Go to www.mysql.com, click on downloads and under MySQL Community Edition select MySQL 4.1 -- Previous GA release. Then select a mirror to download Windows (x86) version. After you downloaded it open the zip file and click on Setup.exe. This screen will then appear.
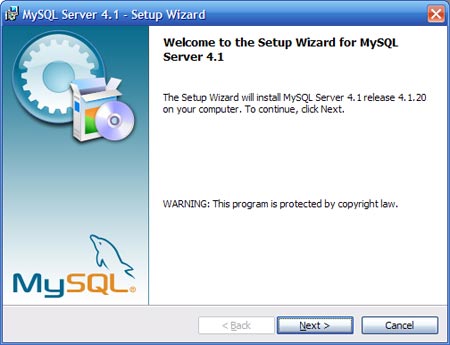
The standard welcoming screen. Click "Next".
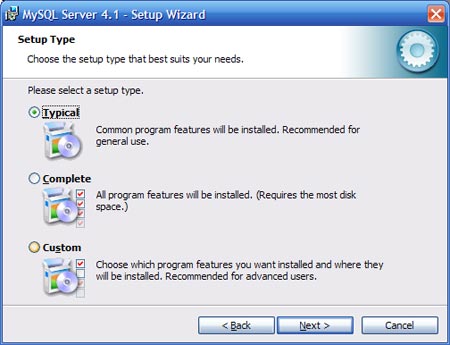
Select "Typical" and click "Next".
Note: If you want it installed in a different folder, select "Custom".
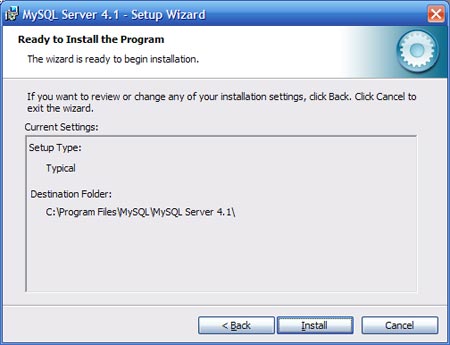
Click "Install" to start installing MySQL.
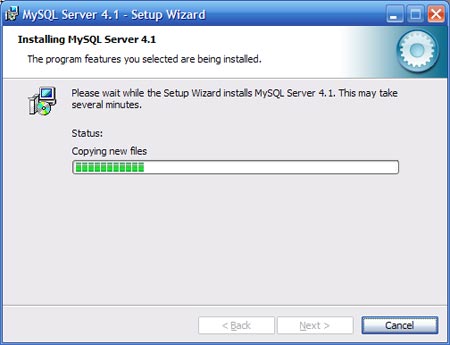
Busy installing MySQL...
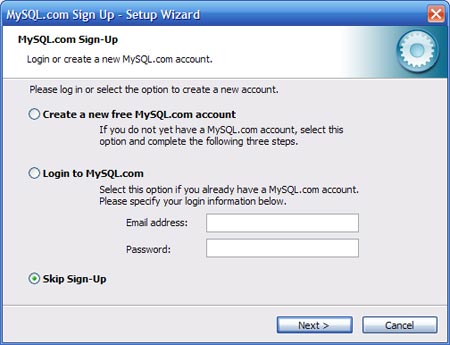
Just skip signup for now. Click "Next".
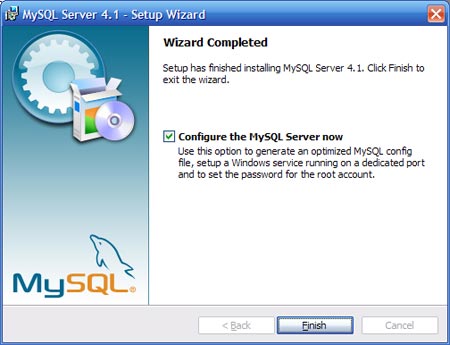
Select the box to configure the MySQL server and hit "Finish".
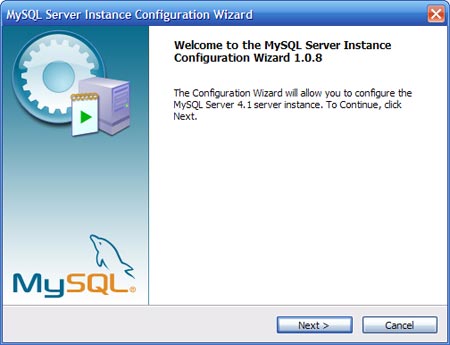
Again a welcoming message will appear. Click "Next".
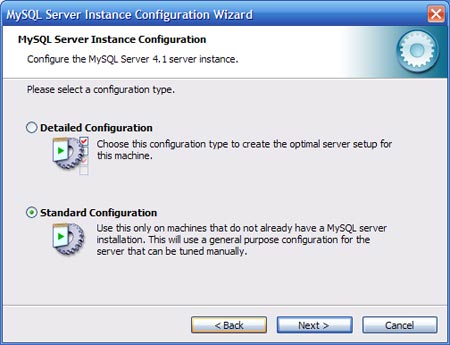
Select "Standard Configuration" and click "Next".
Just click "Next" here.

Here you have to enter a password. Remember it well. Click "Next" when done.
Just press the button.
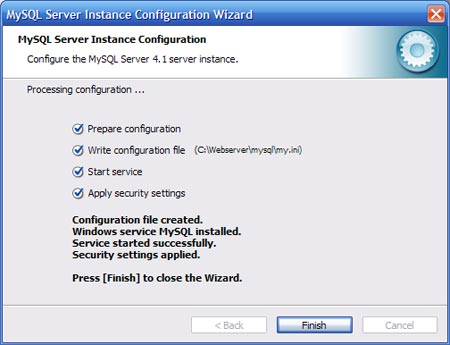
After everything went successful, click "Finish" to exit.
When done go to Start » Programs » MySQL » MySQL Server 4.x » MySQL Command Line Client. Enter your password to get into the client.
You'll now see a welcoming message with the command line mysql>.
Enter this in the command line (replace newpwd with your password):
SET PASSWORD FOR [press ENTER]
'root'@'localhost' = OLD_PASSWORD('newpwd');
You'll get a message if the query was successful. Now you can install phpMyAdmin if you want it.
¤ Step 3b: Installing phpMyAdmin (optional)
If you want to take care of the database and make changes in them it's best to use phpMyAdmin. If you plan to let everybody access your webserver it's better to not install it.
Go to www.phpmyadmin.net and click on "Downloads". I advise you to use version 2.6.x, cause it's easier to edit the config there. After downloading extract it to C:\Webserver\phpMyAdmin or whatever you have used. Then go to the directory and open config.inc.php and do these edits.
Search for:
$cfg['Servers'][$i]['user'] = ''; // MySQL user
$cfg['Servers'][$i]['password'] = ''; // MySQL password
Replace with (change password into your password you entered at MySQL config):
$cfg['Servers'][$i]['user'] = 'root'; // MySQL user
$cfg['Servers'][$i]['password'] = 'password'; // MySQL password
Save the file and close it.
Go to http://localhost/phpMyAdmin/. If correctly you'll see a welcoming message.
Now you can use the webserver to install and tests scripts. I hope you found this tutorial useful. If you have any questions or problems please contact me by using the contact form.
